


I have posted recipes for different kinds of bread but missed out on the most basic recipe that I first followed to bake my first bread. I got it all wrong the first time I made it but then went through a lot of recipes and read about techniques and tips and tricks and finally made my very own decent loaf of bread. After some continuous trials overcame the problems and then could get really good loaves of bread
This recipe is very simple to follow. Just stick to the measurements and follow the tips and tricks. I have tried to share some of experiences here as to where I went wrong and then how I corrected it. There are few things to get right - say proofing yeast, waiting for first rise and second rise and finally baking it right
There are millions of recipes on the internet. I looked into so many of them and then finally after some trial and error ended up with this recipe that I loved. The loaf rose just as I wanted it to and the slices came out very soft. We loved every bite of the bread. I might try a lot more recipes but this one is my first and best recipe
Note: I have included pictures from 2 batches


Serve option... Room Temp
This is what u'll need...
All-purpose flour/Maida - 3 cups
Yeast - 1 tspn
Milk - 1/4 cup + 1
Oil / Butter - 3 tbspn
Salt - 1 tspn
Yeast - 1 tspn
Milk - 1/4 cup + 1
Oil / Butter - 3 tbspn
Salt - 1 tspn
Here is the stir....
- The first step to baking a bread is to activate the yeast. Add 1/4 cup of lukewarm into a bowl. Add a teaspoon of active dry yeast and a tablespoon of ugar to it. Give it a very good sti and let it rest covered for about 15 minutes. The mixture will turn frothy indicating that the yeast is active. For detailed instructions on how to activate yeast follow the step by step instruction here -> How to activate yeast

- Measure 3 cups of all-purpose flour into a wide bowl

- Add a teaspoon of salt to the flour

- Pour the frothy yeast mixture into the flour. Pull everything together using your fingers
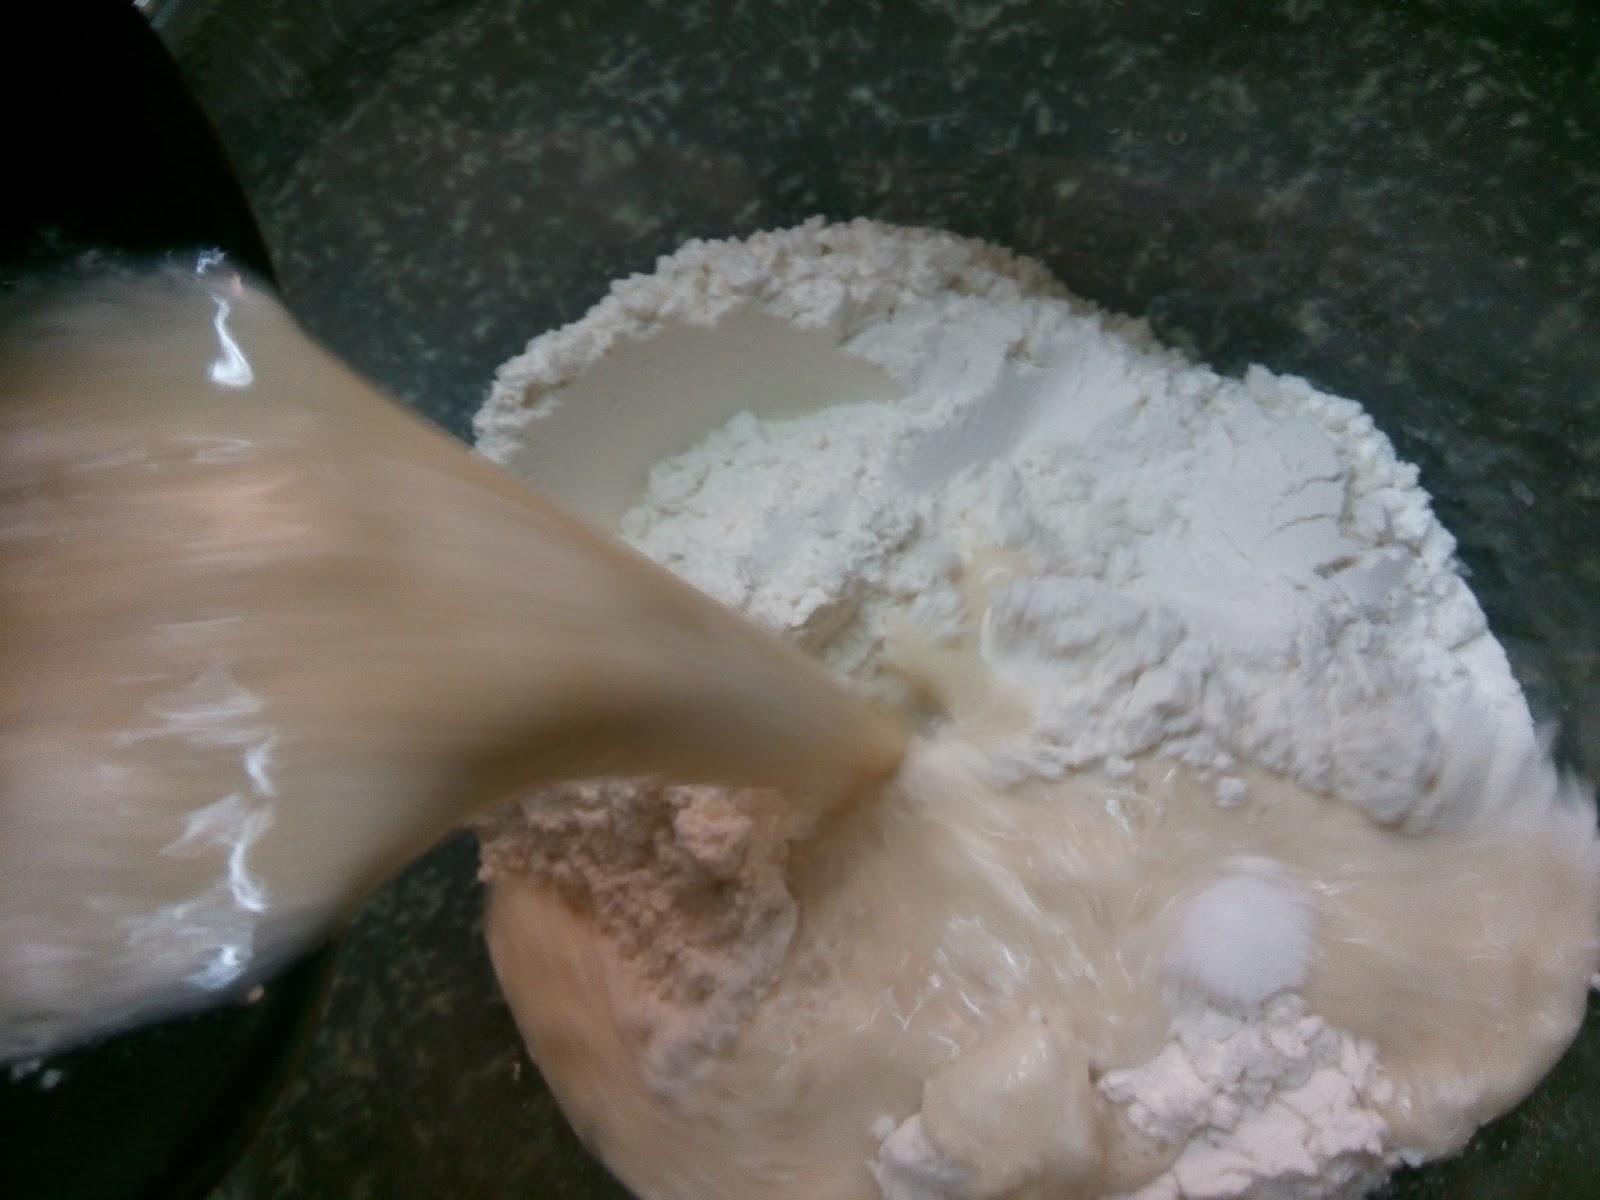
- Add 1/4 cup of milk to the flour mix and gently start kneading

- Add more lukewarm water if needed. Knead it for a few minutes till everything comes together and the dough starts pulling away from the sides of the bowl

- Transfer the dough to your work surface

- Add a tablespoon of oil to the dough and knead it in. Once it is well incorporated add another tablespoon of oil. After a few minutes of kneading add the last tablespoon of oil and knead. In all you will have to knead the dough for about 12-15 minutes

- Once you feel you have kneaded it enough pinch out a little dough and keep stretching it on all sides till you can see light passing through without tearing the dough at all. If you can pull it out so thin then you are got to go to the next step. This is called the "Window-pane" test. If the dough pass this test then you will have to knead the dough for a few more minutes


- Grease the bowl liberally with oil and also cover the dough with a few drops of oil

- Keep this covered in a warm place for about 45 minutes
- The dough would have become double in volume

- Punch down the dough gently and knead it for a minute

- Transfer this dough to your work surface and roll it out into a rectangle


- Start rolling the dough width-wise and keep tucking in the edges tightly.Towards the end seal the edges by pinching the dough really well

- Place this in a greased tin seam side down

- Let this rise for another 30-40 minutes
- Towards the end of the rising time preheat the oven to 180 degrees
- When the dough is ready brush the top with some milk. You can sprinkle some sesame seeds if you want

- Bake the loaf in the 180 degrees preheated oven for 35 minutes

- The loaf will be hard on the top and sound hollow when tapped. This indicated it is done
- Remove loaf from the oven and smear / brush butter liberally on top when the loaf is still very hot


- Let the loaf stay in the loaf tin for a few minutes. Once it is easy enough to handle remove it from the tin and cool it on a wire rack
- Let it cool completely and you can slice you bread as you want

- Make sandwiches / toasts or just smear some butter or jam and enjoy your slice


Note:
- When I first followed the recipe I used 2 tspn of yeast but then though the loaf was soft I could smell and the yeast. So now I use only 1 teaspoon. The rise of dough during rising times is less but it rises beautifully during baking and the loaves have no yeasty smell at all
- The dough needs to rise twice to get the spongy touch to the slices
- Kneading for atleast 12 minutes is mandatory. After that keep checking the dough using window-pan test until it passes
- Smear the bowl and dough with oil before placing it for a rise else the dough tends to dry out
- Knead the dough for a minute after the first rise
- When you roll the dough into a loaf tuck the edges inside tightly else the slices break when you pick them up
- Bake the loaf at 180 degrees for 35 minutes. Every oven is different so keep an eye on it. Once done the loaf should be hard on top and sound hollow when tapped. If the top if soft it indicates that it needs to be baked more
- Brush butter on top of the hot loaf to make it soft
- Slice the bread only after it cools down completely


No comments:
Post a Comment